
On March 17, 2013, a coronal mass ejection (CME) sent two days earlier reached the Earth. The resultant geomagnetic storm produced a brilliant aurora borealis display for the northern latitudes. Now you can see this event as viewed from opposite sides of the Earth as if you were there through the power of the Oculus Rift andTorque 3D (may also be used without the Rift):
Here’s what the Aurora Borealis demo looks like when connected to the Oculus Rift:
April 22, 2013 Update: My video for this project has just been honoured by being put on the Canadian Space Agency’s YouTube favourite video list:
www.youtube.com/playlist?list=FLdNtqpHlU1pCaVy2wlzxHKQ
Very exciting!
Background
On March 24, I saw an article on io9.com that showcased a timelapse video by photographer Goran Strand of the aurora borealis from Sweden. Upon seeing his full sky view I knew that it would make a great Torque 3D project using the Oculus Rift. I imagined his fish eye lens view of the sky projected onto a dome object, and being able to witness the aurora borealis from the ground.
I contacted Goran through Facebook and he graciously allowed me to use his aurora borealis footage for this demo.
Original footage taken by Goran Strand in Sweden
Once I had the view from Sweden complete, I wondered if anyone else had captured the event. My search lead me to AuroraMax, a five year effort by the Canadian Space Agency and the University of Calgary to record the aurora borealis from Yellowknife, Canada. On April 8, I reached out to them on Twitter and received permission to use their full sky footage of the event.
Original footage taken by AuroraMax
Using the same technique of mapping the footage to a sky dome, you are now able to view the March 17 aurora borealis display from opposite sides of the Earth using the Oculus Rift.
How to Use It
The Aurora Borealis demo works best if your desktop resolution is greater than 1024×768. Once you launch the executable you’re presented with the main menu. Along the left are links to the various sources of footage and the appropriate credits. In the middle are the buttons used to start viewing the aurora borealis footage and learn about the demo. On the right are various viewing options.
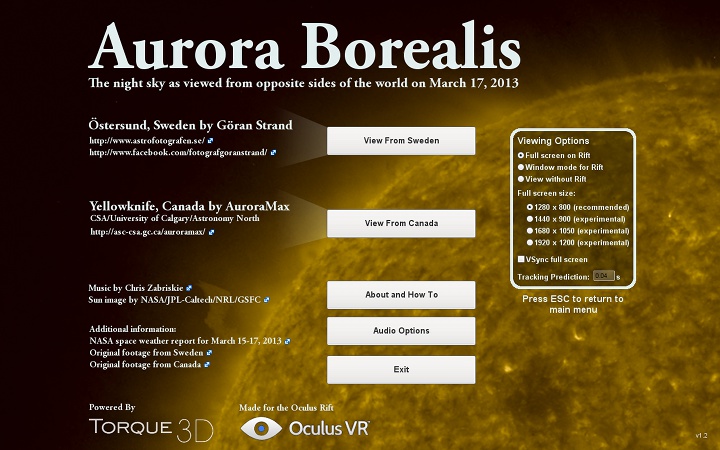
Aurora Borealis Demo Main Menu
The default method of using the Aurora Borealis demo is in full screen mode on the Oculus Rift. When either of theView buttons is clicked this mode will automatically move the demo to the Rift’s display and allow you to look around. So you don’t get tangled in any cords, you may also use either the mouse or a Xbox 360 compatible gamepad’s right thumbstick to rotate your view.
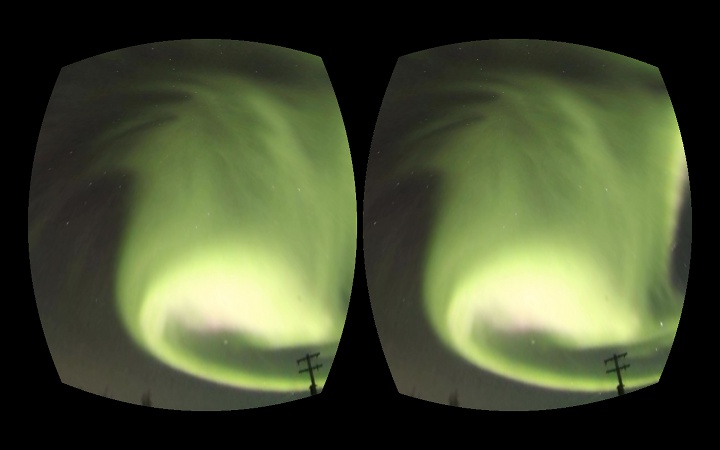
Viewing the Canadian aurora borealis on the Rift’s display
The full screen mode also allows you to choose the resolution to run the Rift at. Normally you would want to stick with the native 1280×800 resolution. However, the image quality may improve if you try out one of the available experimental resolutions.
The second display method will show a Rift compatible view right in the window on the desktop.
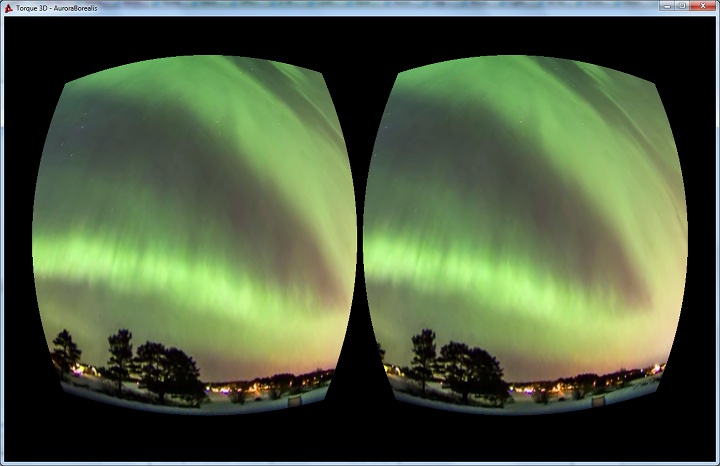
Viewing the aurora borealis in Sweden with the window option
The final display option allows you to view the aurora borealis without an Oculus Rift connected. In this mode you may use the mouse to look around.
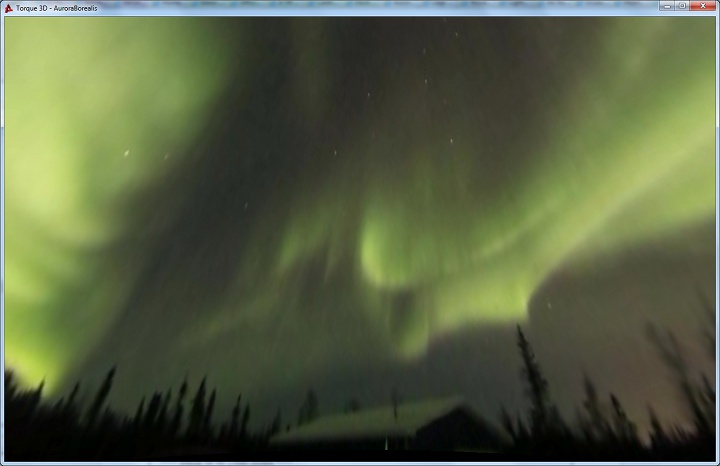
Viewing the Canadian northern lights without the Rift’s stereo rendering
In any of these display modes you may switch your viewing location by pressing the keyboard’s space bar, clicking on the left mouse button, pressing the gamepad’s A button, or pulling one of the gamepad’s triggers. You may also exit viewing the aurora borealis by pressing the ESC key.
Personally, this is my favorite way to watch the aurora borealis as it ebbs and flows:
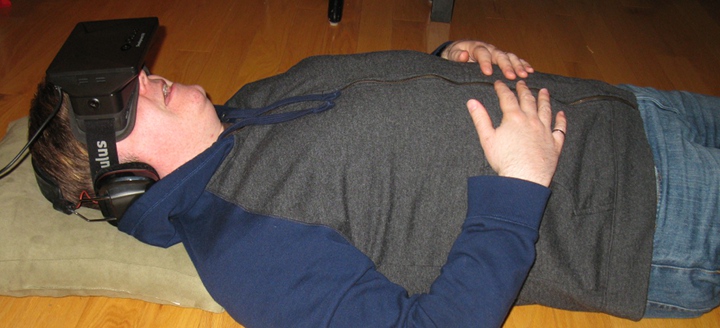
Lying down and looking up at the stars, just as they were meant to be seen
More than the Northern Lights
Stars are clearly visible along with the aurora borealis. Ready to do some stargazing? See if you can spot the following:
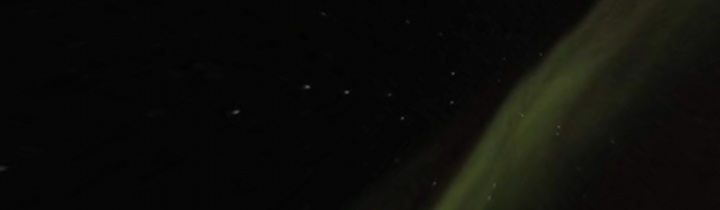
The big dipper over Yellowknife
How It Works
Each location was filmed using a camera with a fisheye lens attached. This provides a complete horizon to horizon view within each frame.
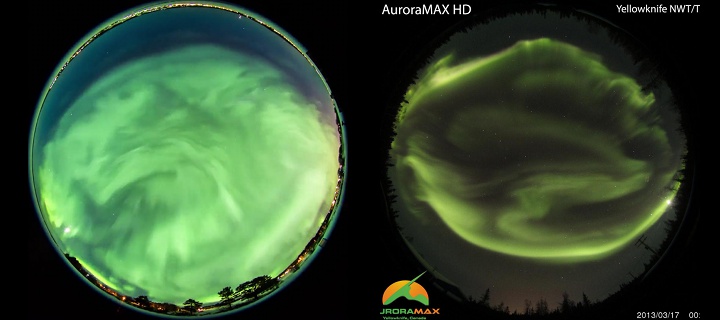
Single frame from Sweden (left) and Canada
To convert this flat image into something that may be used in Torque 3D, I created a hemisphere in LightWave 3D and mapped the footage onto the dome. The trick to getting everything to look right is in mapping with uniform polar coordinates, rather than a planar projection.
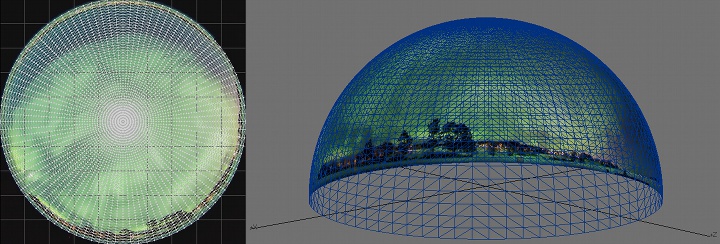
UV map on left, mapped sky dome on right
This sky dome object is then brought into Torque 3D and a virtual camera is placed at its center. When combined with the Oculus Rift you feel like you were actually there watching the aurora borealis.
Enjoy the show!
April 30, 2013 Update: Cymatic Bruce has just reviewed our Aurora Borealis demo: